
It doesn’t seem probable. Zines are complicated. Layout work is tough. And Google Slides? Really?
It’s true. And what’s more, it’s easier than you might think.
Creating Your Zine
First up, you need to create a new presentation from Google Slides. Once you have a presentation started, you’ll have a default slide with Click to Add Title and Click to Add Subtitle as options. Once this is complete, go to the upper left corner of your screen and click on the “Untitled presentation” to give your zine a name.
You’ll notice, that the slides are in landscape format. You can keep your zine in this format, but most folks tend to prefer the traditional portrait layout. No problem. We can fix that quite easily.
Giving It That Zine Look and Feel
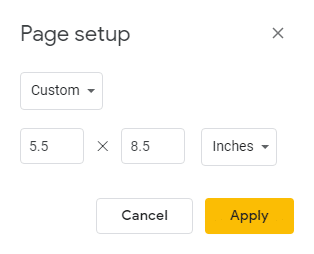
Next up, choose File > Page Setup. The default option of the resulting drop down menu is Widescreen 16:9. To give your zine a portrait layout, click the drop down and select ‘Custom‘. Once you do that, you’re given the option to set your own preferences for width and height. As zines are traditionally printed on 8.5 x 11 inch copy paper and then folded in half, we would suggest setting your dimensions to 5.5 x 8.5 inches as we have here.
Next, we highly recommend you check out the Flipped Classroom Tutorials video on how to create a theme in Google Slides and create even a few template pages. It will make your life much easier as you develop your zine.
A design recommendation: if you’re trying to make your theme look like a traditional zine – keep it to two colors. Again – traditional zines were printed out on copiers in black and white to keep costs low.
Table of Contents
Linking within the zine works easily. In fact, we recommend setting up a Table of Contents page early on in your ‘presentation’. To start, you can simply create a blank page. Then, once you have your content more built out, you can create a simple TOC by linking to specific pages.
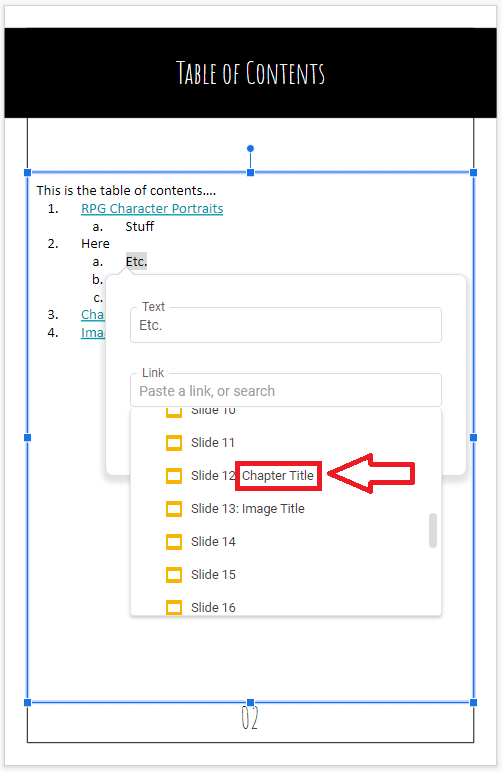
By paying attention while you create different pages and adding appropriate titles to different sections of your zine, you’ll have an easier time with linking in your TOC. Google Slides presents the titles you’ve added as ‘names’ for individual slides as seen here.
And more good news – linking throughout the presentation is preserved later when we save our zine in a format we can distribute, so our TOC will remain in tact.
Creating RPG Maps in Google Slides
Speaking of linking within Google Slides, I found that these presentations make for a great means of creating maps and navigating the information about those maps.
To build your map, start by downloading an image of graph paper. There are quite a few options out there and they’re easy to find thanks to Google Image Search. Once you have your graph paper, set it as the background on a new page in your zine. You can do that by going to Slide > Change Background…
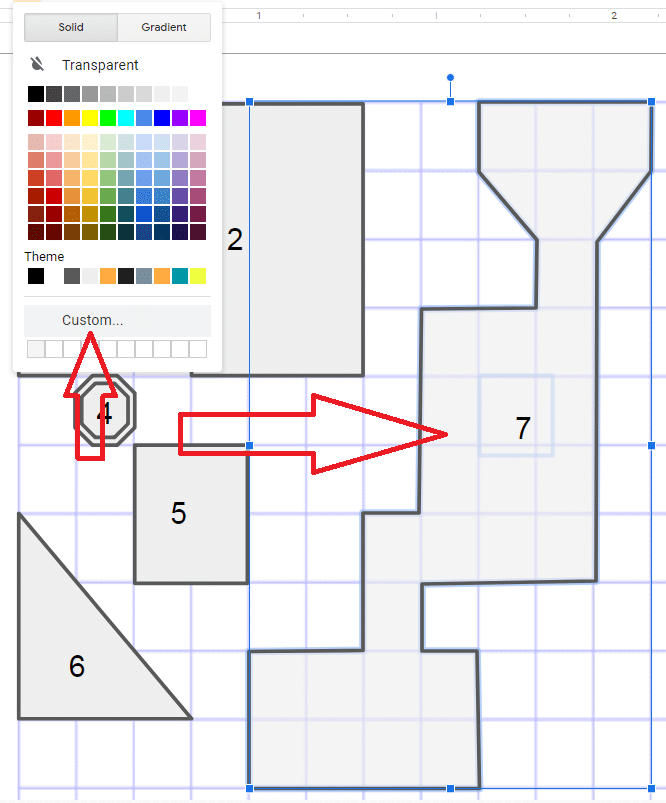
Next, you can add various shapes to the page and use the graph paper for sizing. Here, we’re creating a simple town or village with various sized buildings. Where possible, we keep to ‘standard’ shapes available in the shapes, arrows, and callouts menus. The reason for this is the fact that a simple double click on these shapes allows for easy labeling.
That said, we found that you can create nearly any shape you want using the polyline tool (labeled 7 here). Double clicking on a polyline tool created object doesn’t allow you to label it, but it does allow you to edit the points of the object. Then, when you have the shape you want, simply add a text label on top of that object and group the two objects together.
A design recommendation: you can use transparencies for the fill of these objects to allow yourself to see the graph paper below the objects. If you don’t want the objects completely transparent, you can use the ‘custom’ fill to make them semi transparent. (See image above.) While you will likely want detailed maps of any larger locations (castles, ruins, etc) simply knowing the rough size and shape of smaller locations is often sufficient and zines are generally meant to be short.
Linking to Map Location Descriptions
Using the linking function built into Google Slides works quite well to get you from the maps you create to the descriptions of your locations and then back. It makes for a nice, effective system.
As a simple example from our town map, we could fill two pages with descriptions of the locations from the map. Those locations get labels of 1 – 7.
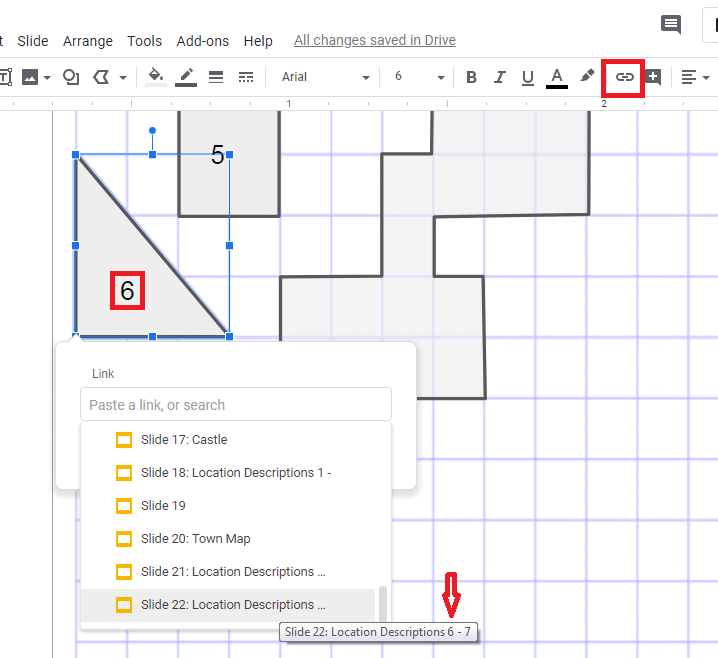
Then we using the linking function built into Slides to link to those pages. In our case, we’re linking to the second page since location 6 is on that second page. This is why using titles on pages is important – it makes the correct links more manageable.
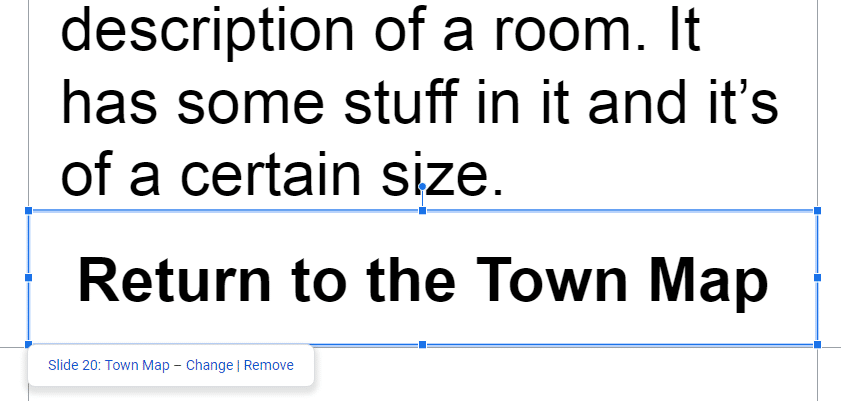
At the bottom of the pages with location descriptions, add a text or object link to return to the map. In our example, this text link drops the readers back to the page with the originating Town Map.
A design recommendation: Create your ‘return to map’ link after you’ve finished all of the location descriptions. That way you can copy the object and past it at the bottom of all your location description pages. Obviously you can create a new one for each of the pages, but this makes it just a bit more efficient.
And That’s About That
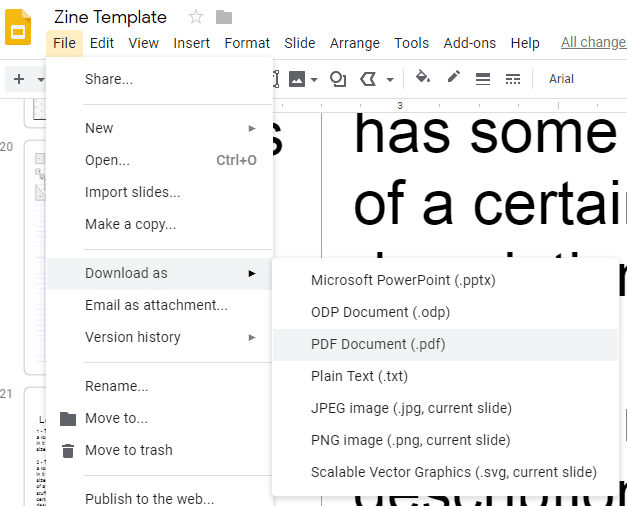
And that should do it. Once you finish adding all the content to your zine, you’re ready to publish it! To do that, just go to File > Downloads as > PDF.
Links, images, fonts, and layouts should all be preserved normally thanks to the ability of PDFs to store all relevant information.
And you’re done! Upload your PDF zine to whatever cloud storage site you prefer and share the link to those who want to read your work!
If you would like a copy of the slide deck that I created for demo purposes here, it’s available via this link.
The Down Sides
There are some slight down sides or inefficiencies to creating your RPG zine in Google Slides.
The polyline shape tool isn’t a perfect solution for creating unique shapes. You can’t add or remove points to the shapes, so we recommend keeping the shapes relatively simple. If you must make complicated shapes, make a series of simpler shapes and group them together.
Slides doesn’t allow for easy two page spreads. While it’s possible to ‘think through it’, there’s no simple way to see your pages side by side before you save the zine as a PDF.
And lastly, Slides is not meant to be a PDF editor, so managing a large number of objects on a single page can prove unwieldy. The Arrange > Order menu generally solves most of these issues, but sometimes in a less than perfect way.
In the end, we find that these few minor inconveniences are just that – minor. And so, Google Slides provides a very handy, perfectly priced, and generally good tool for creating RPG zines!

1 thought on “Create an RPG Zine in Google Slides”
Comments are closed.